
This dialog is used to set the parameters of the current document.
To call it choose Document Properties... from the File menu.
The dialog contains several tabs, which control various groups of settings:
General - contains information that describes
the document
Page - sets the size and orientation of the document
pages
Settings - sets the scale, units of measure,
etc.
Printing - contains print settings
Preview - sets document preview properties
Advanced - contains settings that control access,
export to HTML, the behavior of connectors.
The General tab in Windows:
The General tab in Mac OS X:
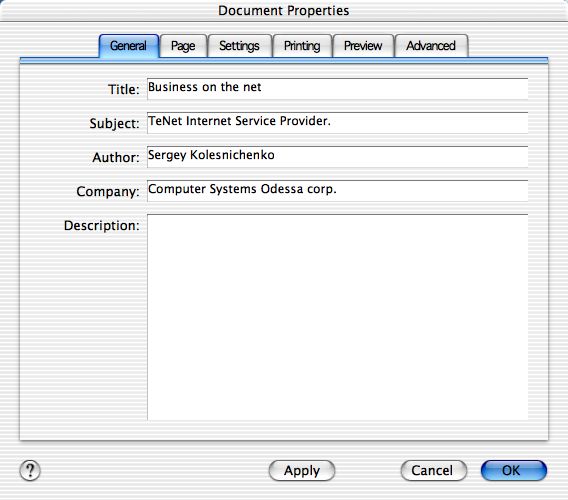
Title - contains the title of the document
Subject - contains the subject of the document
Author - contains the name of the author
Company - contains the name of the company
Description - a detailed description of the document
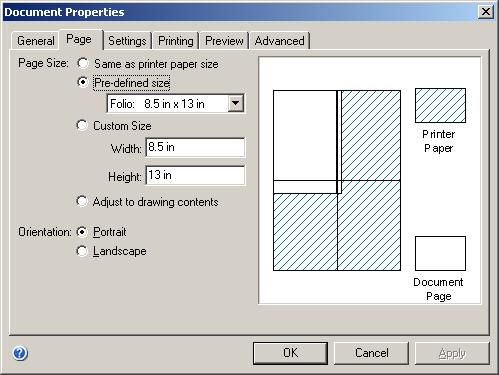
The Page tab in Windows:
The Page tab in Mac OS X:
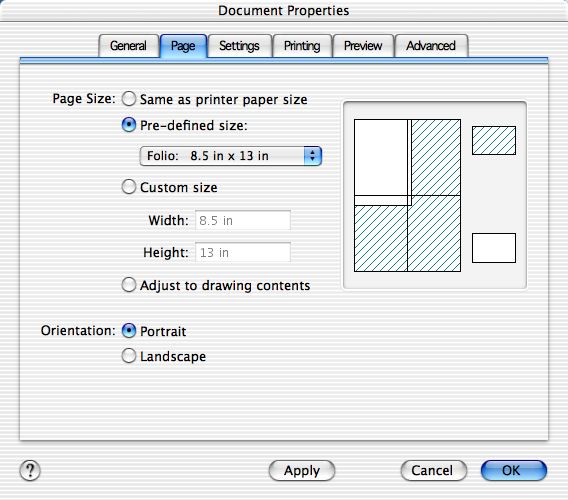
The left part of the tab contains the settings. The right part has the preview area, where you can see the results of the changes you apply. The document page is represented by the white rectangle, the printer page is represented by the shaded rectangle. The size and orientation of the printer page are taken from the current print settings.
The Page Size setting allows to choose the size of the document page. The following options are available:
Same as printer paper size - the document page has the same size as
the printer page.
Pre-defined size - allows to choose one of the pre-defined sizes from
the drop-down list.
Custom size - lets you set a custom page size:
Width - specifies the page width
Height - specifies the page height
Adjust to drawing contents - the page size is set enough to fit all shapes in the drawing. If the document contains several pages, the biggest value is used.
The Orientation setting specifies the orientation of the document page:
Portrait - the page is taller than it's wide.
Landscape - the page is wider than it's tall.
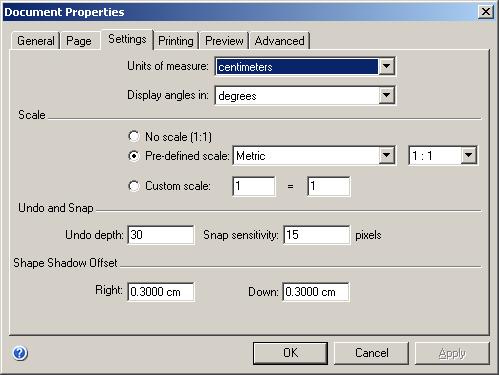
The Settings tab in Windows
The Settings tab in Mac OS X:
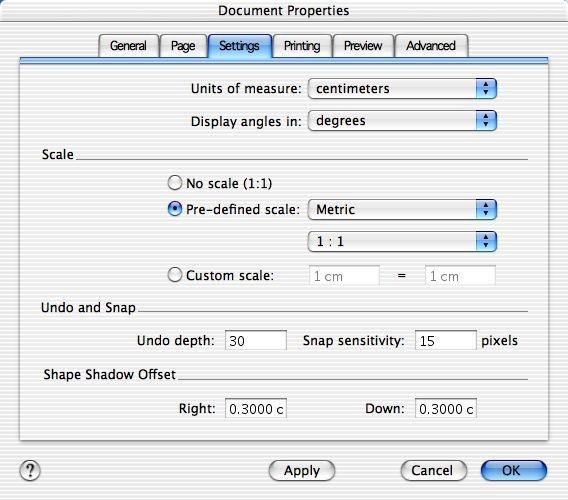
Units of measure - allows to choose the unit of measure from the drop-down list.
Display angles in - sets whether to display the angles in degrees or radians.
The Scale setting determines the scale of the document. The following options are available:
No scale (1:1) - the 1:1 scale.
Pre-defined scale - allows to choose a scale from the list. The scale
is set with the help of two drop-down lists. The first one allows to choose
the type of the drawing:
Metric
Civil Engineering
Mechanical Engineering
Architectural
Depending on the chosen option you can choose a pre-defined scale in the second drop-down list. If the Civil Engineering or Architectural options are chosen, non-metric (imperial) units of measure are set automatically in the Units of measure field. You can change the units of measure manually if needed.
Custom scale - sets a user-defined scale. You can use different units of measure by specifying the appropriate suffix after the value (for example, 1 ft = 1 in).
The Undo and Snap section controls the Undo/Redo and Snap settings.
Undo depth - specifies the number of consecutive actions you can undo.
The default value is 30. Making it much higher takes a lot of memory and can
slow down the program.
Snap sensitivity - sets the distance from which snapping and gluing are
activated. This distance is set in pixels and does not depend on the scale or
magnification. The default value is 15 pixels.
Ñåêöèÿ Shape Shadow Offset - indicates the shadow offset for the shapes with shadow:
Right - the distance the shadow is offset to the right,
Down - the distance the shadow is offset down.
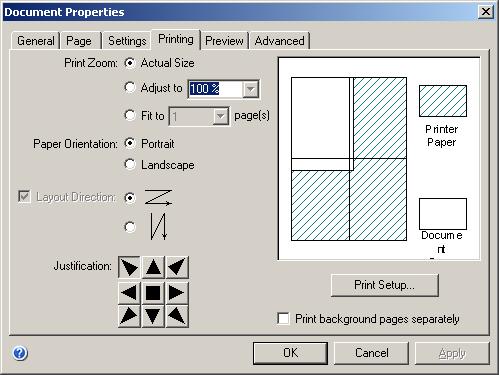
The Printing tab in Windows:
The Printing tab in Mac OS X:
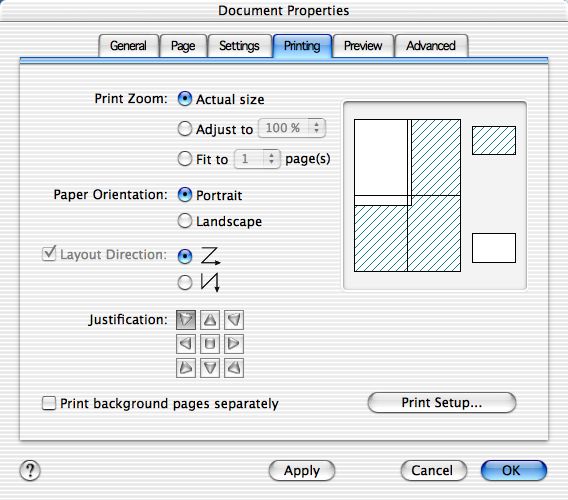
The left part of the tab contains the settings. The right part has the preview area, where you can see the results of the changes you apply. The document page is represented by the white rectangle, the printer page is represented by the shaded rectangle. The size and orientation of the printer page are taken from the current print settings.
The Print zoom setting lets you specify at which size the document page will be printed:
Actual Size - the document will be printed in its normal size.
Adjust to - the document will be zoomed in or out when printed. You can choose
a value from the list or input it manually. 100% corresponds to the actual size.
If the zoom level is greater than 100%, the document will be increased, if less
- reduced.
Fit to ... page(s) - lets you fit the document page on the given number
of the printer pages (the zoom level will be chosen automatically).
The Paper Orientation setting controls the printer page orientation:
Portrait - the page is taller than it's wide.
Landscape - the page is wider than it's tall.
Note: This setting doesn't affect the orientation of the document page (see the Page tab).
The Layout Direction setting specifies how the document is tiled across paper sheets (if its page is larger than one print page). It can be tiled either down and then over, or over and then down. If the document page is smaller than the print page, this parameter is ignored.
The Justification setting controls the position of the document on the print page (if the document page is smaller than the print page). You can use of the the 9 arrows to specify the position. The changes will be displayed in the preview area of the tab.
The Print background pages separately sets whether the background pages should be printed as regular document pages.
The Print Page Setup button calls the system dialog where print settings can be set (see the Page Setup dialog).
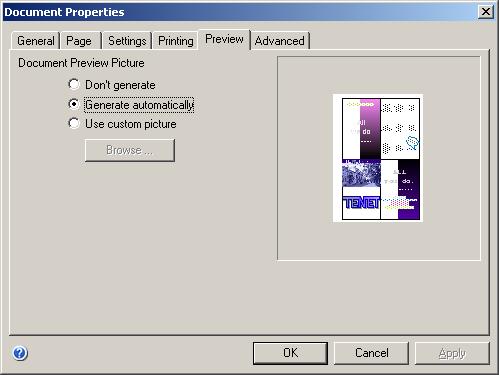
The Preview tab in Windows:
The Preview tab in Mac OS X:
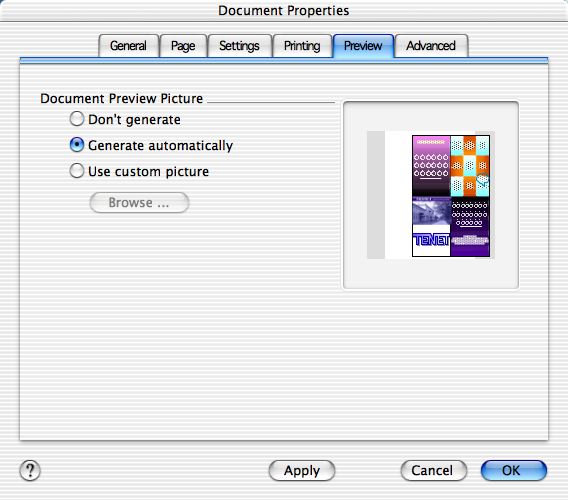
The left part of the tab contains the settings. The right part has the preview area, where you can see the results of the changes you apply.
The Document Preview Picture setting specifies how the document preview is formed:
Don't generate - preview is not generated. That means that you can't
preview the contents of the document in the file open dialog.
Generate automatically - the program uses the first page of the document
to generate the preview.
Use custom pictures - the user can specify a custom picture as preview
for the document. You can use the Browse button to choose the picture.
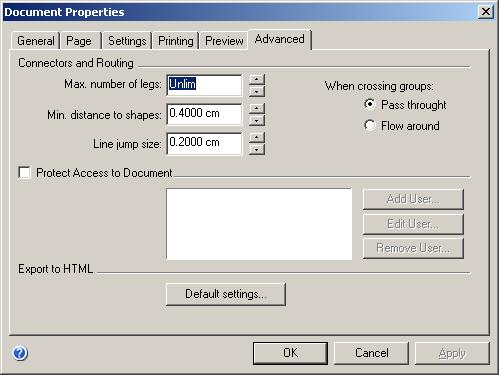
The Advanced tab in Windows:
The Advanced tab in Mac OS X:

The Connectors and Routing section contains settings that describe the behavior of smart connectors.
Max. numbers of legs - sets the maximum number of connector's legs.
By default the number of legs is not limited.
Min. distance to shape - sets the minimum distance the smart connector
keeps from the shapes on its way.
Line jump size - indicates the size of connector crossings.
Note: This setting only determines the size, not the type and style of the crossing (see the Smart Connector section for details).
The When crossing groups setting controls how the connector behaves when it crosses a group:
Pass through - passes through the group, flowing around the shapes inside.
Flow around - flows around the entire group as if it were a single shape.
The Protect Access to Document area lets you limit access to the document. The program will ask for a user name and password on an attempt to open the document. Only authorized users will be able to view and edit the document.
Add User - adds a new user to the list,
Edit User - allows to change the user name and password,
Remove User - deletes user from the list.
Note: This feature is supported only for the documents in the ConceptDraw V format. It's not supported for the documents saved in the ConceptDraw 1.x format.
The Export to HTML section lets specify the default settings for HTML export.
Default Settings... calls the dialog where HTML export settings can be configured. These settings will be used by default. You can change the export settings for each particular document when exporting it to HTML (see the Exporting a Document to HTML Files section).